How to Read Oak Grain and Medullary Rays: A Woodworker's Explainer
Take two boards from the same log, plane them both, and you can end up with surfaces that look as though they came from different trees. One is all sweeping arches and dark streaks. The other is pale, straight and speckled with silvery ribbons. Neither is a fault. Both are oak being oak — and once you can read what you are looking at, buying timber stops being a lottery.
What Oak Grain Actually Is
Oak is ring-porous, which means it does two different jobs each growing season. In spring it lays down a band of wide, open vessels to move water quickly; by late summer it switches to dense fibres and much smaller vessels. The result is an annual sandwich of soft, porous earlywood and hard, heavy latewood, repeated year after year.
Plane a board and you slice through those sandwiches at an angle. What we call grain is the growth rings intersecting the sawn face. Flat-sawn, the rings meet in shallow arcs and you get the familiar cathedral pattern. Quarter-sawn, they meet at close to a right angle, so instead of arches you get tight parallel lines and a much calmer surface.
The open pores are the small dark dashes you can feel with a fingernail, and they drink finish — which is why oil or wax makes oak look deeper rather than simply shinier.
Medullary Rays: The Radial Skeleton
Rays are the half of oak that most people never notice until someone points at it. They run from the pith out to the bark at roughly right angles to the growth rings — spokes in a wheel, storing and moving starches across the trunk. In most timbers rays are too fine to see without a lens. Oak grows them big enough to read with the naked eye.
Cut a board so its face lies along the rays and you get ray fleck: pale, ribbon-like flakes, sometimes called silver grain. It is at its most dramatic in European oak. In American white oak it is the figure that defines Arts and Crafts furniture; quarter-sawn red oak rarely shows the same ribbon, because its rays are shorter and thinner.
Rays are softer and more absorbent than the surrounding fibres, so they take stain and finish differently and can read slightly lighter or duller. They are also why oak rives so obligingly — a froe driven into a quartered log splits along the radial plane, which is how palings, shingles, spindles and barrel staves have long been made. And on quarter-sawn faces, fine surface checks often open along the rays as timber dries.
Three Cuts, Three Different Boards
The sawyer decides most of what a board will look like and how it will behave.
- Flat-sawn. Sliced in parallel passes, so the faces run tangential to the rings. You get the widest boards, the boldest cathedral figure and the lowest price — along with the most movement, because oak shrinks roughly twice as much across the rings as it does across the rays. Allow for cupping and seasonal width changes.
- Quarter-sawn. The log is quartered and sawn radially. Expect straight parallel lines and full ray fleck, plus far less movement across the width and a board that stays flat. It wastes more of the log, which is why it costs more and comes narrower.
- Rift-sawn. A middle path at roughly 30–60° to the rays. You keep straight vertical grain without the fleck, which suits anything that needs consistency: door frames, legs, drawer sides, handrails.
One log yields all three, so learn to read end grain. Shallow arcs across the width mean flat-sawn. Rings standing near-perpendicular and parallel, with fine radial lines running towards the edge, mean quarter-sawn.
How to Read a Board Before You Buy
A decent yard will let you turn a board over if you ask. Do it.
- Start with the end grain. It shows the cut, the growth-ring spacing and whether pith is included. Tighter, more even rings usually mean slower growth and a more uniform surface.
- Wet the face. A wipe of water or white spirit lifts the figure at once. Ray fleck looks flat and dusty on dry timber and swims into view when damp.
- Tilt it against the light. Ray fleck is chatoyant: it brightens at one angle and disappears at another. That shimmer is the surest sign of a genuinely quarter-sawn face.
- Check the sapwood. That pale edge band is not durable, does not stain like heartwood and will show under a clear finish. Fine if you are painting; annoying on an exposed table edge.
- Look for checks. A short split near an end can be cut away. One running the length of a quarter-sawn face, along the rays, is less forgiving.
With rough-sawn stock, split an offcut with a chisel along the radial direction. It shows what the rays are doing inside the log, which helps you judge whether the next board up the stack will match.
Matching the Cut to the Job
Big tabletop? Flat-sawn gives you the arches and the width, but plan for movement: fix with buttons or slotted cleats rather than gluing the top rigidly to a frame. A long dining table that has to stay flat? Quarter-sawn or rift-sawn, narrower boards, breadboard ends.
Frame-and-panel doors and carcasses are happiest with rift-sawn or quarter-sawn frames; save flat-sawn stock for the panels, where figure does no harm and the panel can float in its groove. External joinery — gates, doors, posts — wants straight-grained quarter-sawn heartwood, which moves less and holds a coating longer through a wet British winter.
Turned work is its own case. A leg turned from flat-sawn stock has long grain on two sides and cross grain on the others, so it can shear where it is weakest. Rift-sawn blanks turn cleanly all the way round.
Choosing Boards: A Short Practical Sequence
Decide what the piece needs before you look at stock. Feature panels and tabletops: flat-sawn for arches, quarter-sawn for ribbons. Frames, legs and rails: rift or quarter. Anything outside: straight grain, heartwood, no sap.
Then work in this order. Read the end grain. Wet the face. Tilt it to the light. Check sap and splits. Buy one board more than you need — matching grain across a glue-up is far easier when you have spares from the same log.
Finally, keep your tools sharp. Oak's soft earlywood and hard latewood tear under a dull edge, and a cabinet scraper will do more for ray fleck than any amount of sanding. Oil or hard wax makes the rays glow; liming wax settles in the open pores and emphasises the ring pattern instead. Test on an offcut first.
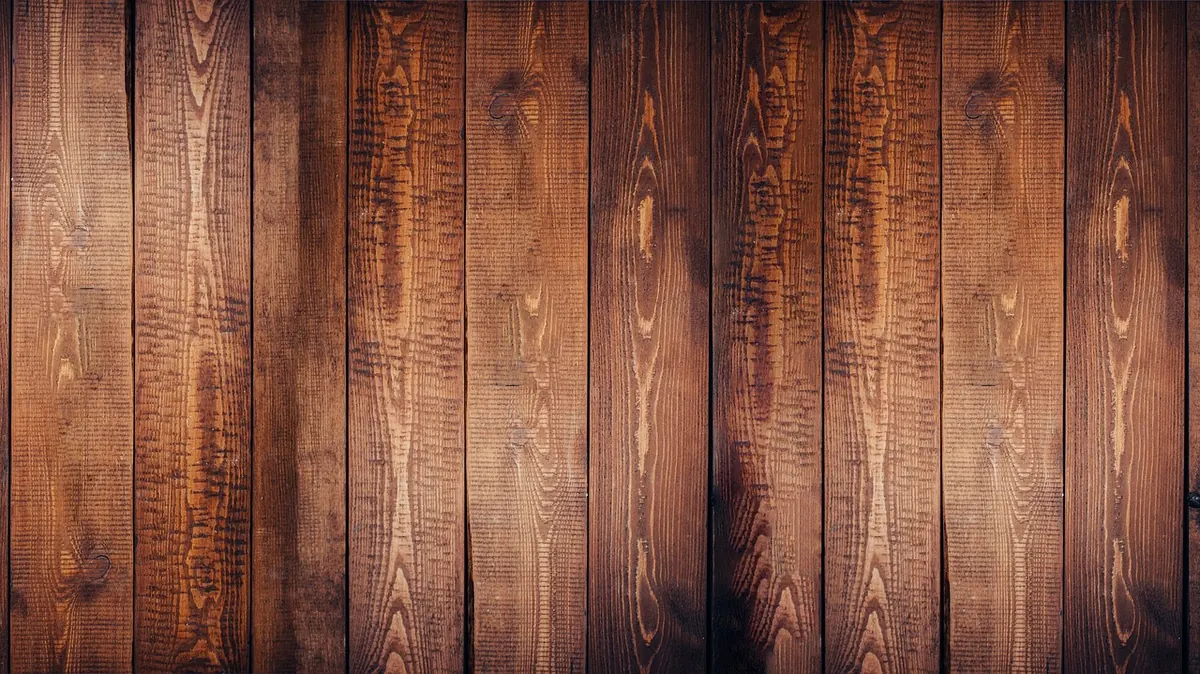
Photo: messomx / Pixabay

You Might Also Like
Veteran oaks carry centuries of local history that is rarely written down. Here is how to photograph, measure and record one so your findings last.
A practical guide to starting a village oak club, from finding a founding group and planning walks, talks and seed swaps to running small conservation projects.