Share Your Oak Stories: How to Document a Veteran Tree for the Community Archive
There is an oak on the edge of a parish somewhere — hollow, half its crown gone, older than the church tower — and nothing about it exists on paper. No measurement, no photograph, no note of the name villagers used for it a century ago. When it finally comes down, that history goes with it.
A community archive is the remedy, and it does not require a professional surveyor or expensive kit. It needs someone willing to spend an hour with a tree, a notebook, a phone camera and a tape measure, and then to file what they find somewhere it will be kept.
Do it well and your notes will still be useful to a reader in fifty years.
Before you start: permission, safety and the tree's welfare
Ask the landowner or farmer first. A public footpath gives you the right to pass along it, not to wander into a field, open a gate or set up a tripod against a hedge. Explain what you are doing and offer a copy of the finished record — most people are pleased to have their tree documented.
The tree itself deserves care. Do not knock nails into it, tie tags tightly around a trunk, strip ivy or clear vegetation from the base. Oak roots run shallow and wide, so avoid trampling the same patch of ground repeatedly while you work. Hollows and standing deadwood are habitat: bats and nesting birds are protected by law, so if a cavity looks occupied, record it from the outside and leave it alone. If you are unsure whether work near a tree needs consent, take advice before going further.
Finally, tell someone where you are going. Veteran oaks shed limbs without warning, so look up before you stand underneath one.
Photographing the oak
The whole tree
Start with one image that shows the full canopy and the ground around it. Stand well back, use the widest lens you have, and shoot in flat, overcast light — cloud is a gift for tree photography, because it spares you both burnt-out highlights and black shadows. On a clear day, early morning or late afternoon is kinder than midday. Where you can, frame the crown against sky rather than a dark wood.
Then walk a full circle and photograph from all four aspects. Choose one repeatable viewpoint — a gatepost, a fence corner, a particular gap in the hedge — and note it down. A future recorder can stand in the same spot and take the same picture, which is how change becomes visible.
Features and scale
Close-ups matter as much as the portrait: hollow entrances, dead limbs, fungal brackets, sap runs, bark crevices, lichen, the scars of old pollarding. Put something familiar in the frame for scale — a person, a walking stick, a tape measure — and say in your notes what it was. Without scale, a photograph of bark is only a texture.
Keep the original files and rename them with the date, the tree and the view: 2025-04-11_GreatOak_N-aspect.jpg. That small habit saves an archivist hours of sorting.
Measuring the essentials
Three figures are worth having: girth, height and crown spread. Record the date and the method alongside them.
- Girth. Wrap a flexible tape around the trunk at roughly 1.3 to 1.5 metres above ground level, measured on the uphill side. If the trunk is hollow, irregular or splits below that height, measure at the narrowest point beneath 1.5 metres and write down the height you actually used. Note the circumference in centimetres; divide by 3.14 if a form asks for diameter.
- Height. A clinometer app is quick, but the old stick method works well enough for a record. Hold a straight stick at arm's length so its top lines up with the treetop and its base with the base of the trunk, then measure the distance from where you stand to the tree. That distance is roughly the height.
- Crown spread. Pace out from the trunk to the furthest edge of the canopy on the widest side, then do the same at right angles to it. Note both figures and note that you paced them, so nobody mistakes them for tape measurements.
- Repeat. Take each measurement twice. If the figures differ, take a third and use the middle one. Write down what you used — tape, app or paces.
Reading the tree's story
Numbers describe size; observations describe character. Work through a checklist like this as you stand there:
- Hollows, their number and whether they open to the sky or the side
- Deadwood in the crown, and whether the tree is stag-headed
- Buttress roots, and any sign of soil compaction or erosion around them
- Epicormic growth — the tufts of young shoots that appear on old trunks
- Old cutting scars that suggest pollarding or coppicing
- Fungal fruiting bodies, water pockets, sap runs
- Lichen and moss communities, which change with light and age
- Position in the landscape: hedge line, ditch, parish boundary, old lane
That last point is often the most revealing. Oaks standing on boundaries frequently mark lines older than the fields around them, so note what the tree is standing in, not just the tree.
Then ask people. Trees have names, and the names live in memory rather than on maps. A parish council, a local history society, or the farmer's own family may hold stories of a limb coming down, a tree used for a village gathering, or a photograph taken beneath it in 1953. Write down who told you what, and never present a remembered date as a fact.
Writing a record an archivist can use
Keep it factual and dated. Start with a header: tree name or reference, location including a grid reference and a short description, date, time, weather, and the names of everyone recording. Then describe what you saw, what you measured, and what you were told, in plain prose.
Separate observation from hearsay. "The trunk is hollow to a depth of roughly a metre" is a record; "the owner's daughter recalls it being struck by lightning" is also a record, but label it as recollection. Add anything you could not do — no height measurement, access refused on one side — so a later recorder knows where the gaps are.
Where the record should live
Give copies to more than one place. County environmental records centres, county archives, parish councils, local history societies, wildlife trusts and the landowner are all sensible homes. Keep your own originals and a simple spreadsheet listing every tree you have recorded, so the project survives a change of volunteers.
Think about location precision before publishing. Some recorders release only a rough grid reference for notable or vulnerable trees, to reduce the risk of damage or collecting. Agree with the archive what will be publicly visible — the point is to share the tree's story, not to send crowds to its roots.
Start with one tree
Choose a single oak this weekend. Ask permission, walk the full circuit with your camera, measure the girth at 1.5 metres, write half a page, and send a copy to your local records centre or parish council. Then date it, file it, and move on to the next one. Ten records from ten people is a real archive; the trees, and the people who come after you, will do the rest.
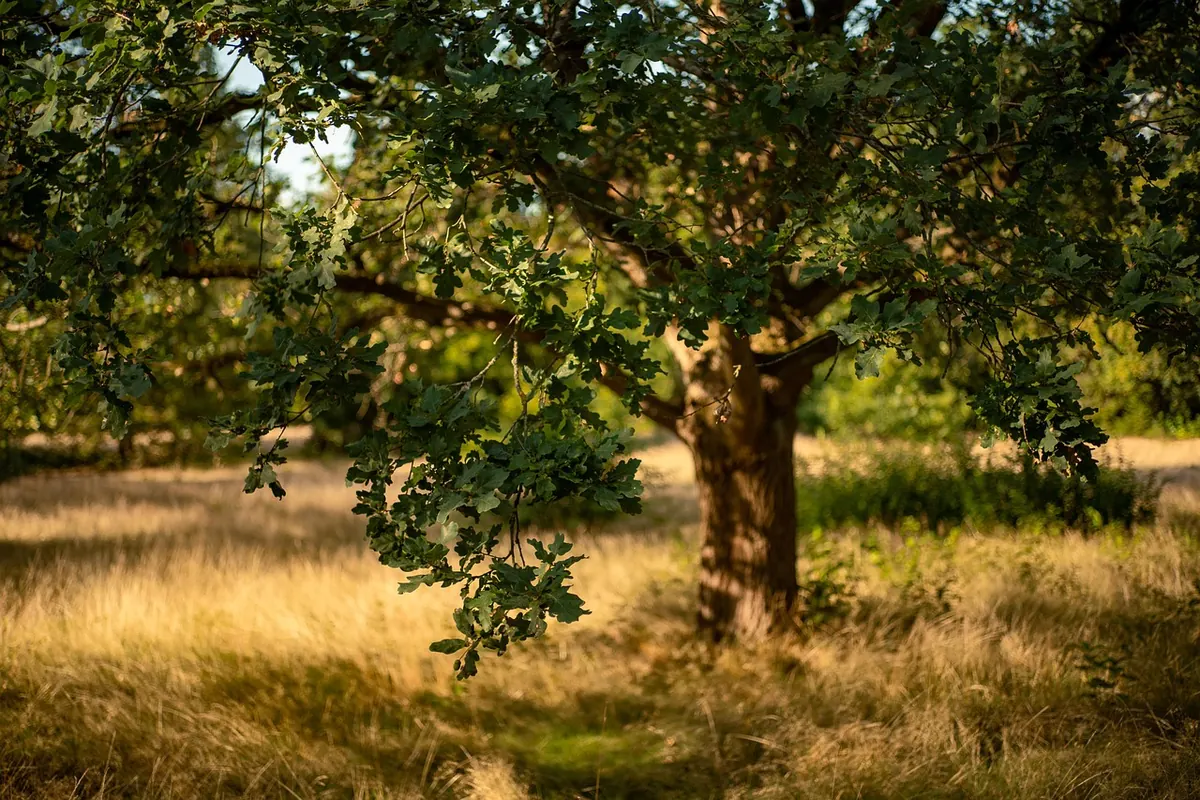
Photo: mariya_m / Pixabay

You Might Also Like
A practical guide to starting a village oak club, from finding a founding group and planning walks, talks and seed swaps to running small conservation projects.
A practical guide to traditional oak framing workshops, covering the tools you will handle, the joints you will cut, safety rules and exactly what to bring on the day.